Widget Configuration
Every AriseNote widget shares a common set of appearance and behavior settings. This guide covers some of the shared options. Most of the settings are straightforward and self-explanatory, so you can try them out yourself and see how they affect visual appearance and content of your widget.
Widget Editor
You can configure a widget after creation by clicking on the corresponding widget in the dashboard. This will open the widget editor with a settings panel on the left and a live preview on the right. Changes save automatically and appear in the live preview panel on the right.
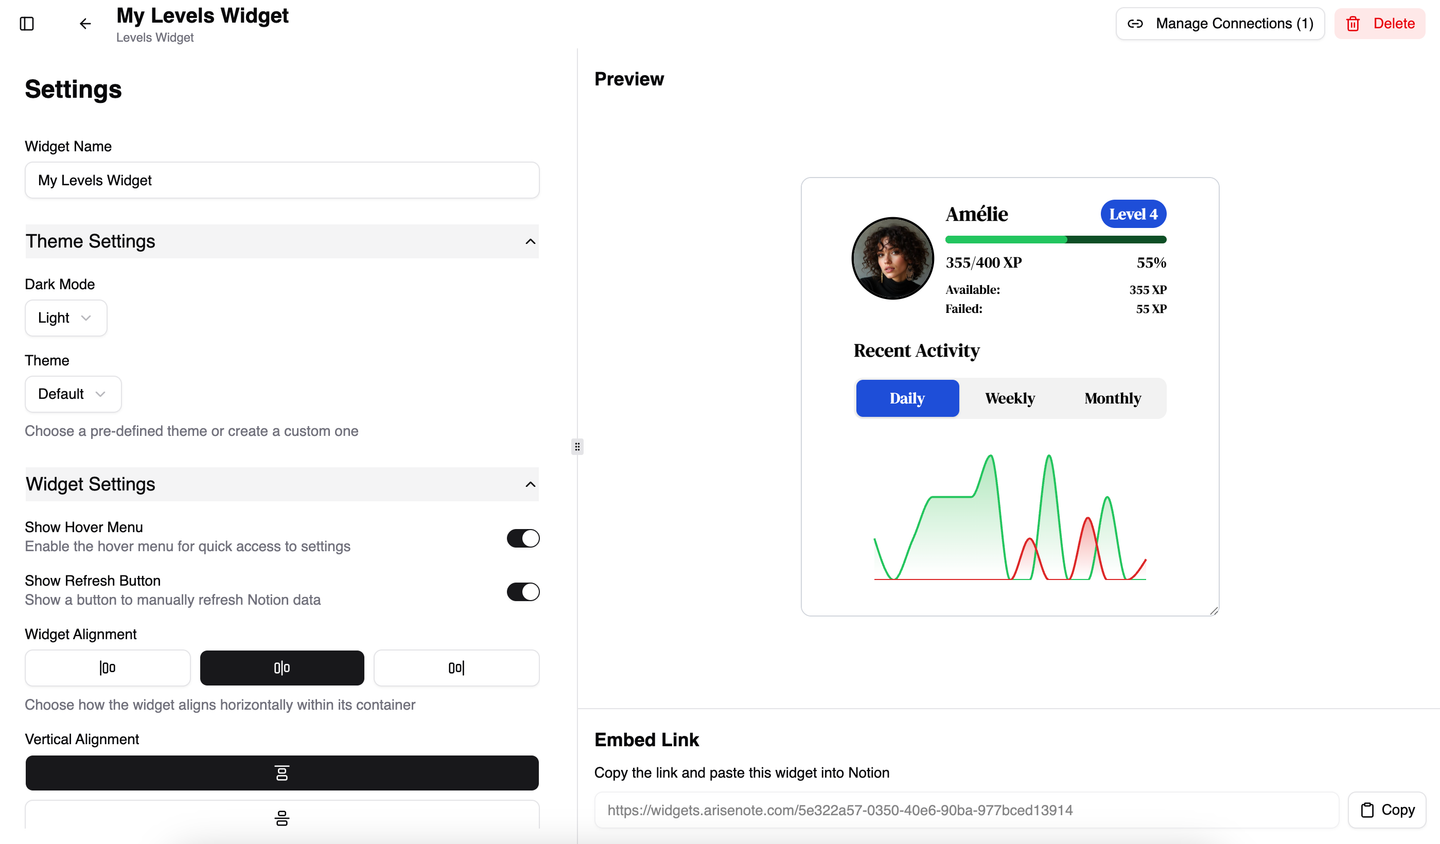
Resizing the Widget
To resize the widget, click and drag the bottom-right corner of the preview panel.
Copying the Embed Link
Click Copy Link button to copy the embed link of the widget. You can then paste this link into Notion to embed the widget.
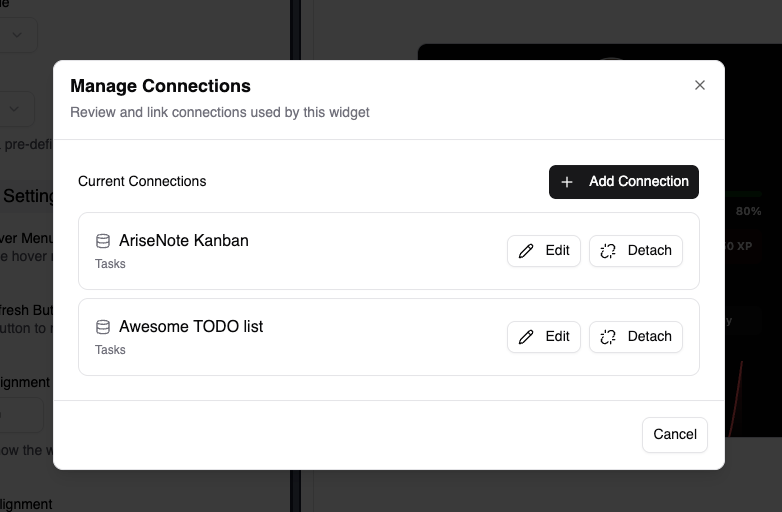
Managing Connections
Click Manage Connections button to manage the connections of the widget. You can add, edit, and detach connections here. See Connections for more information.
Shared Settings
These options are available on every widget.
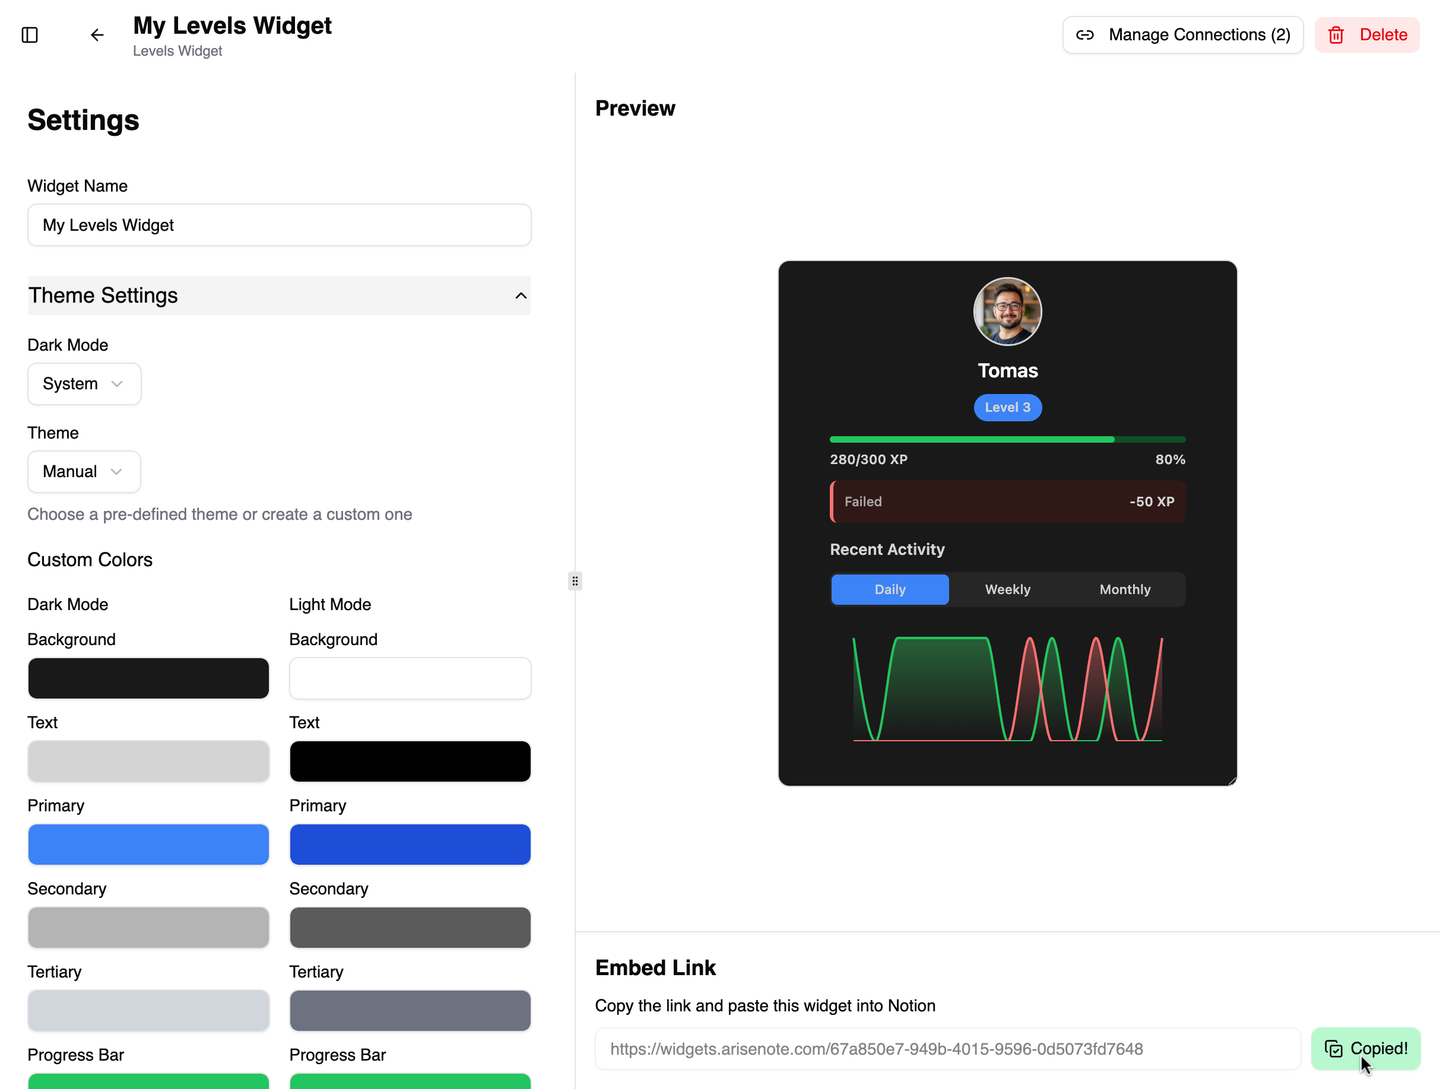
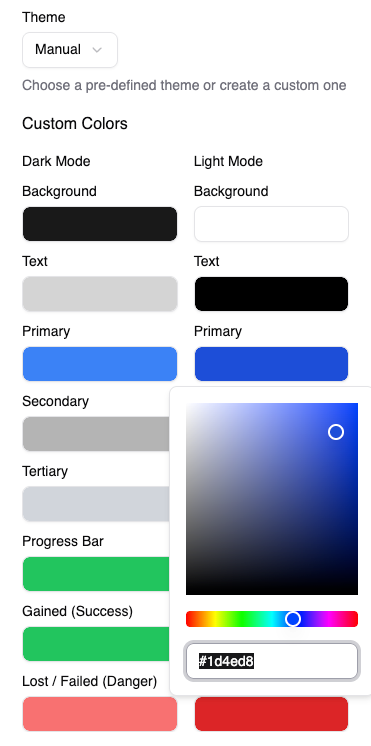
Manual Colors
When Theme is set to Manual, you can override individual color values for both light and dark mode. Available color slots depend on the widget type — for example, Levels adds progress bar and success/danger colors, while Streak adds ring and streak colors.
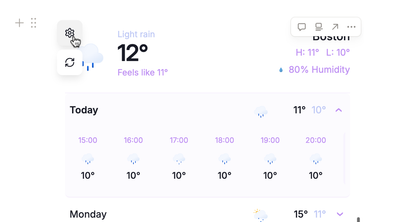
Hover Menu
When enabled, a small menu appears when hovering over top-left corner of the embedded widget in Notion. The menu provides a Refresh button (on refreshable widgets) and a link back to the AriseNote dashboard.
Refreshable Widgets
Weather, Streak, Levels, and Heatmap support manual data refresh, because Notion updates our widget data automatically only after half or one minute they occur. To get the most recent data, you can manually refresh the widget:
- Click the Refresh button in the widget hover menu inside Notion
- Or use the refresh action in the widget editor on the dashboard
Copying the Embed Link
To embed or re-embed a widget in Notion:
- Open the widget in the dashboard editor.
- Click Copy Link.
- In Notion, type
/embedand paste the URL, or paste the link directly and select Embed.

Next Steps
- Managing Your Dashboard — rename, delete, and organize widgets
- Connections — configure database links and field mappings