Creating Widgets
It's time to create your first widget! This guide will walk you through the entire widget creation process, from selecting a widget to embedding it in your Notion workspace.
1. Choosing a Widget
To get started, click on the "Create Widget" button in the dashboard.
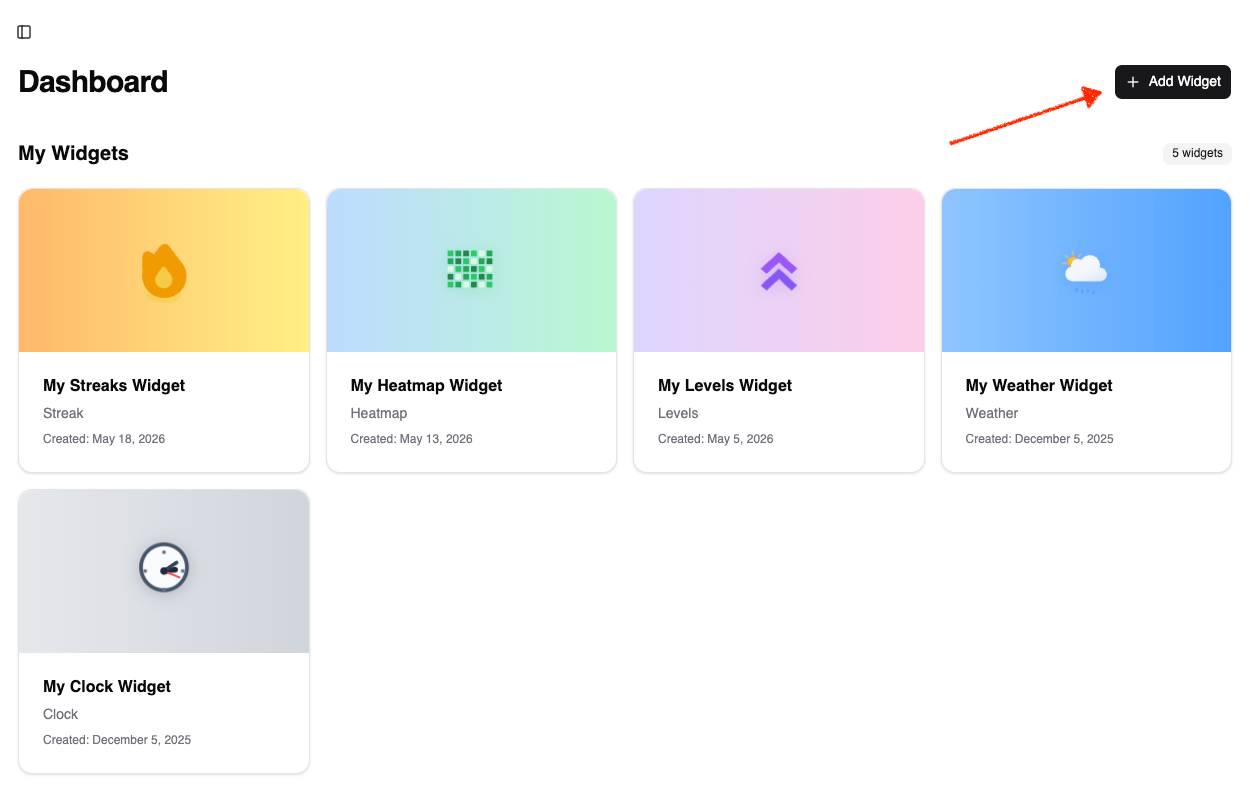
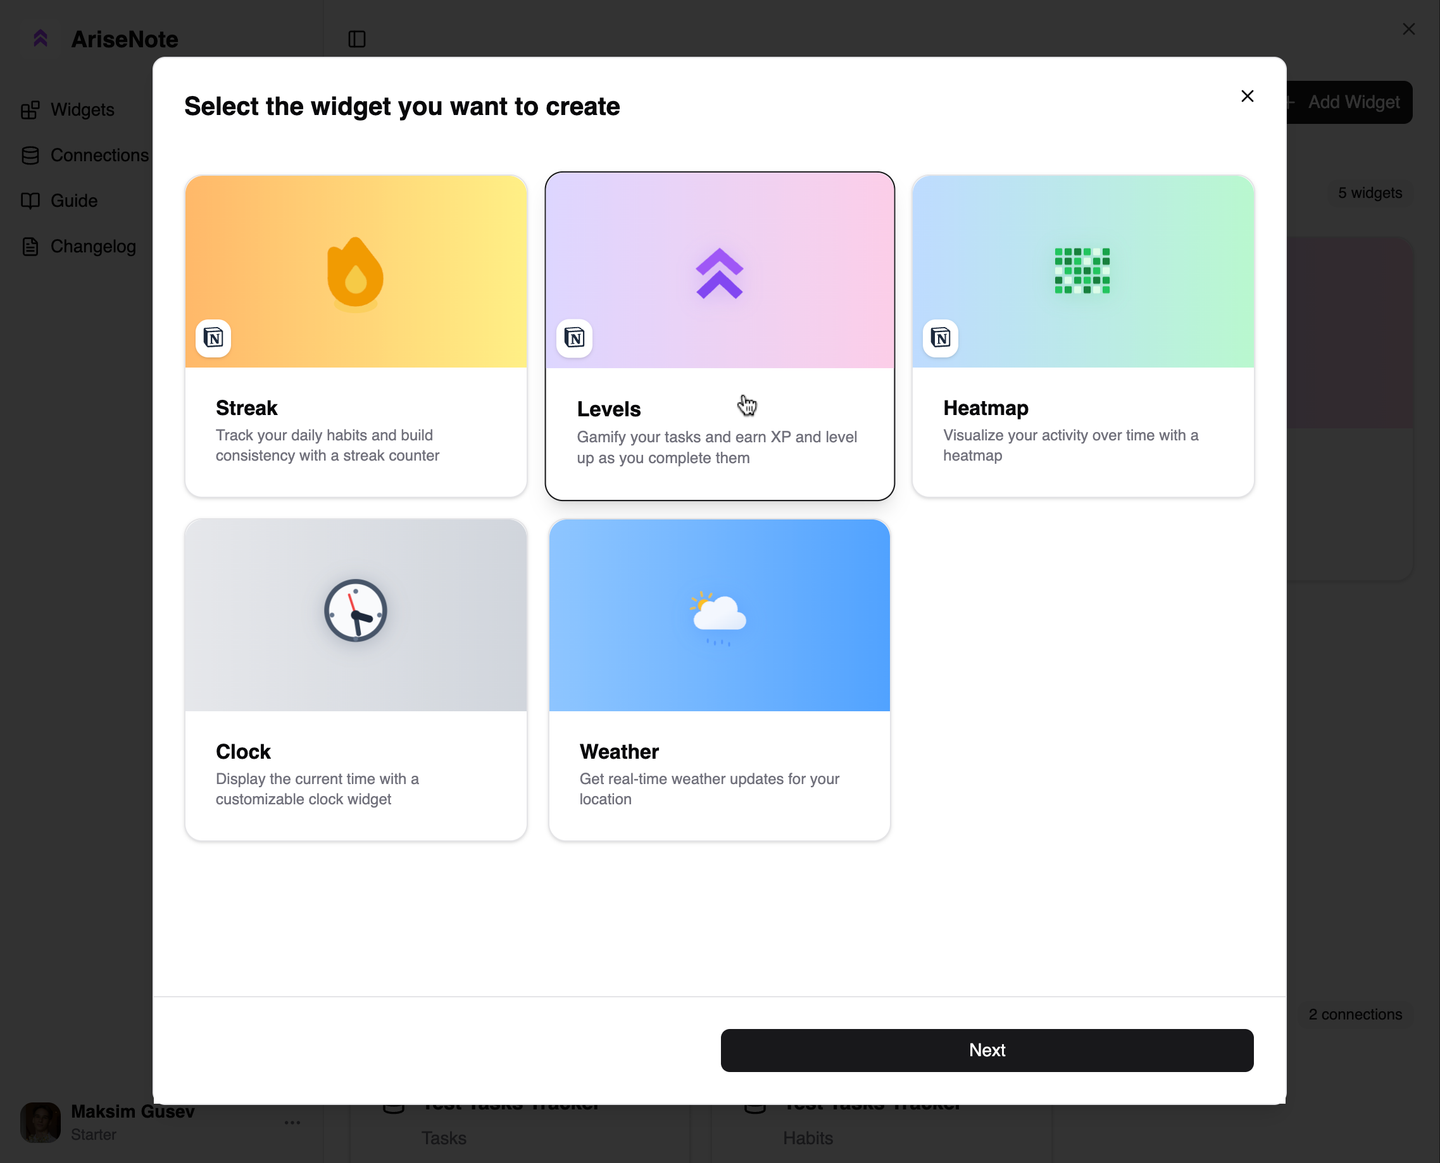
This will open a widget creation dialog. Select the widget you'd like to set up, and click "Next".
2. Connecting Notion
Some widgets (like "Levels") require Notion to complete the setup. If you've chosen a widget that doesn't require Notion, you can skip this step.
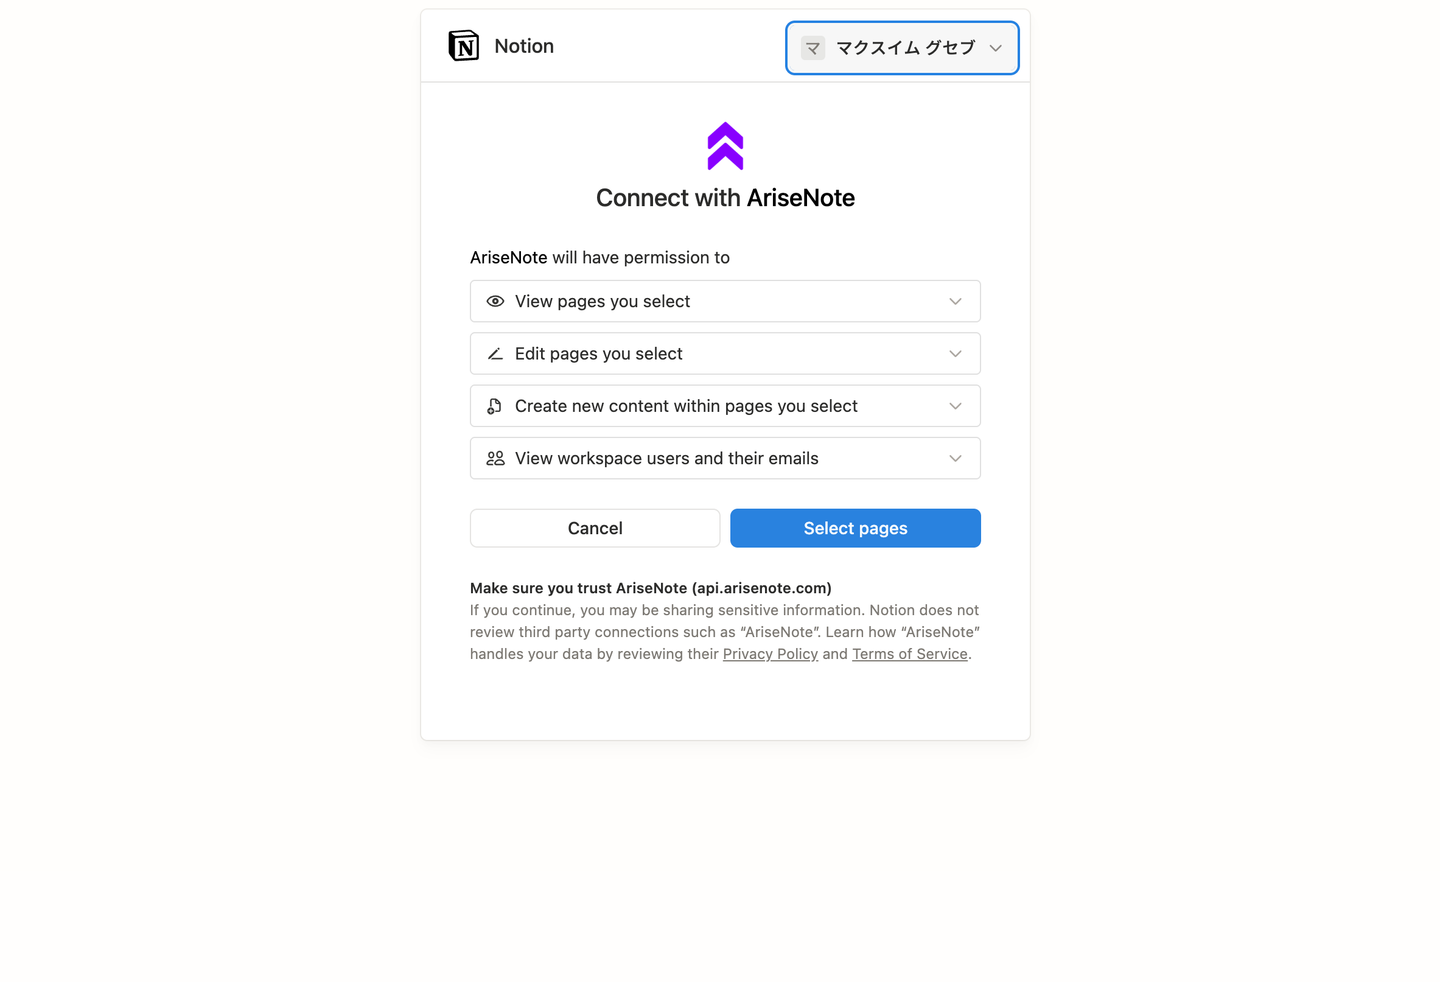
First, connect your Notion account to AriseNote by clicking the connect button. You'll be redirected to Notion, where you'll be prompted to select the pages AriseNote will have access to. Generally, you should select the databases you want to connect to the widget. You can revoke access at any time by disconnecting the integration or removing your Notion account in the AriseNote settings.
3. Linking a Database
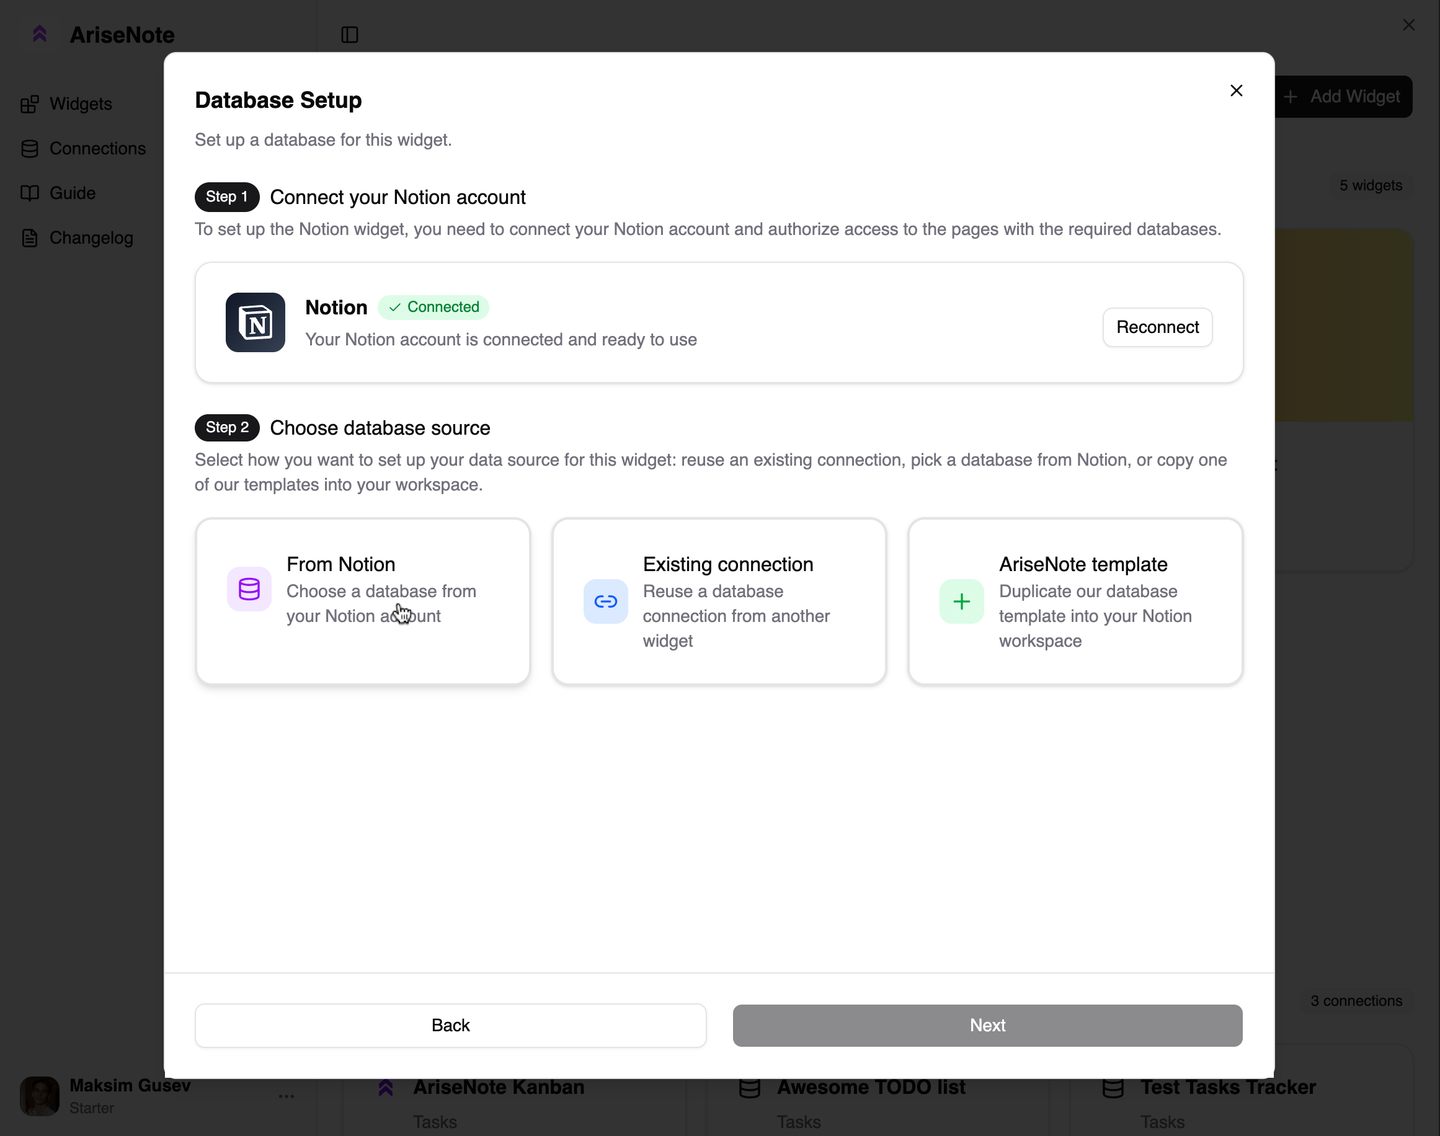
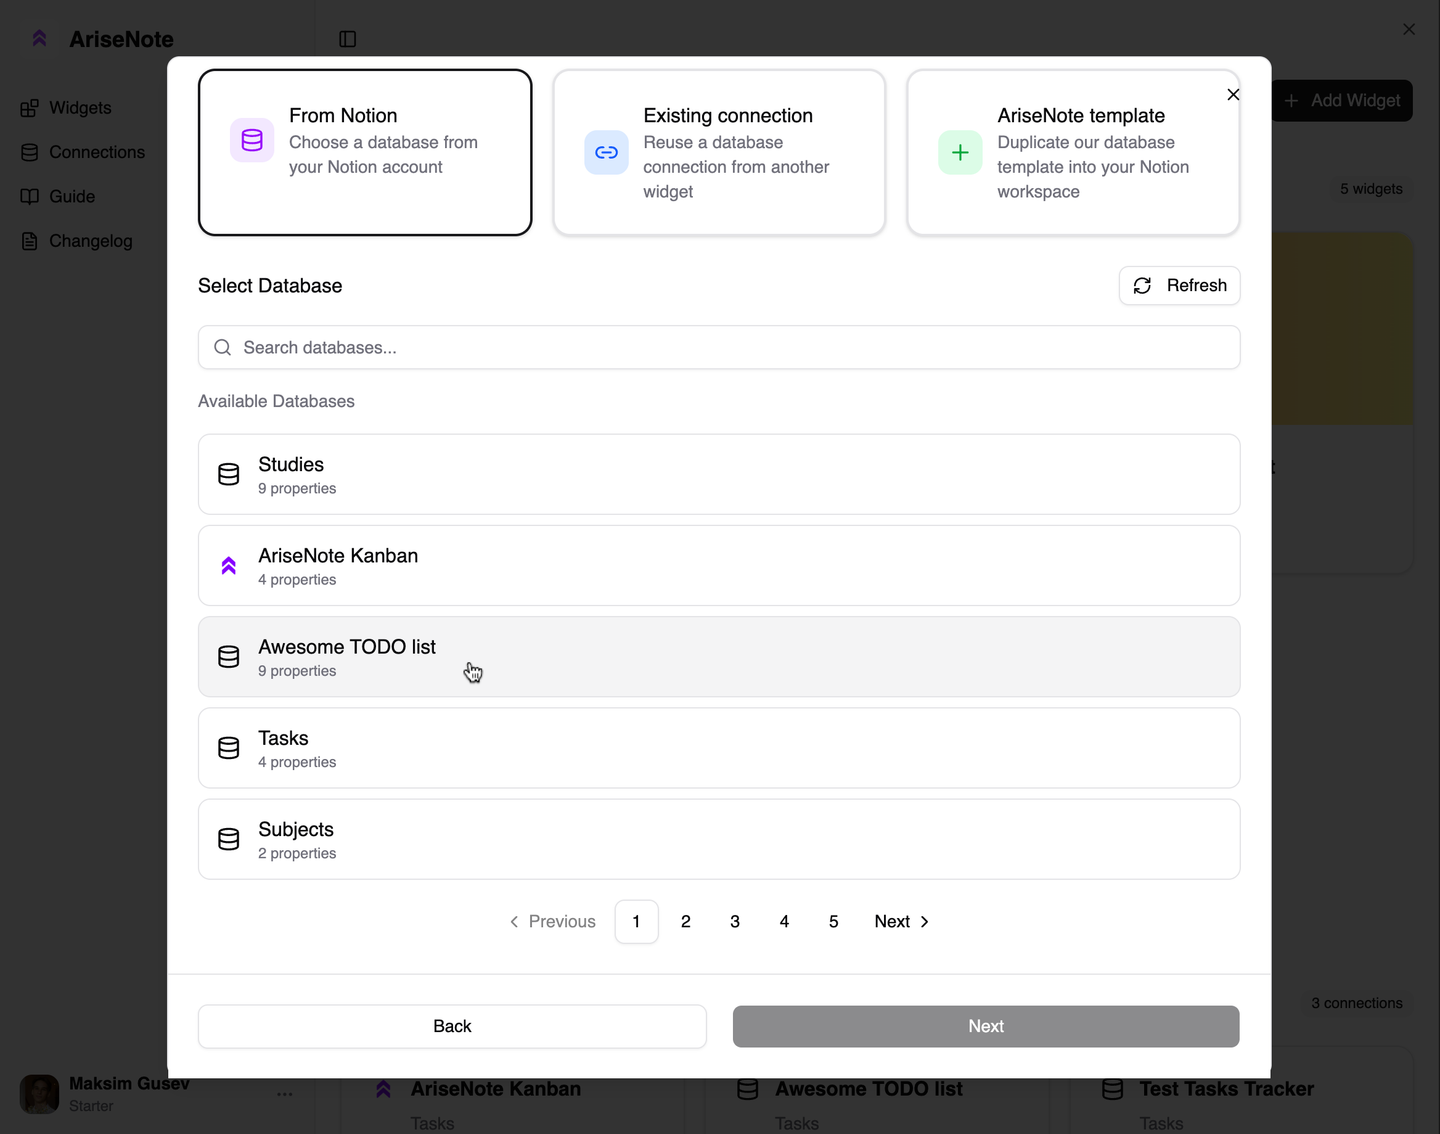
After your account is connected, you can select a database from the list of available pages that AriseNote has access to. If you don't have an existing database with tasks, no worries! You can select "Use our database" to copy a ready-to-use template database for tasks or habit completion.
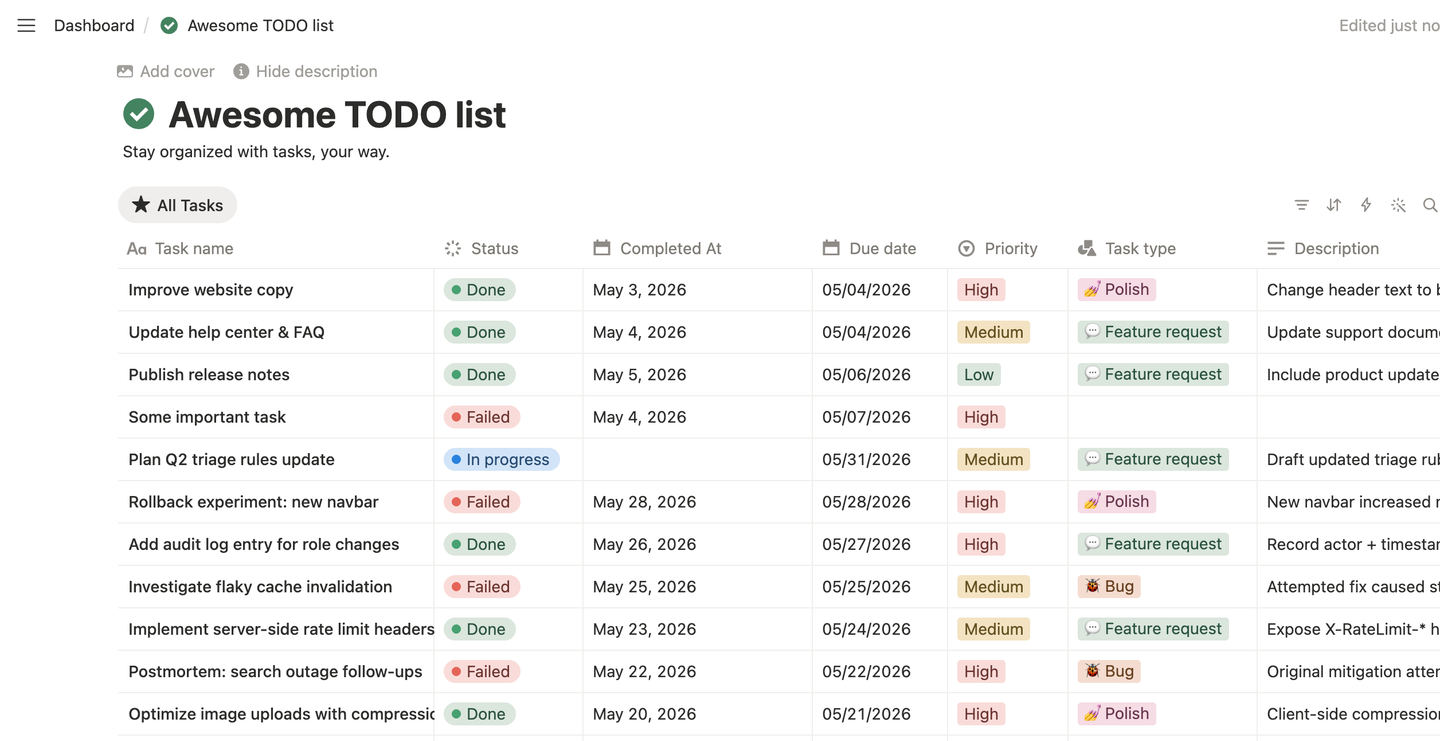
In this example, we'll be using an existing database with tasks that looks like this:
Then, select the database from the available list.
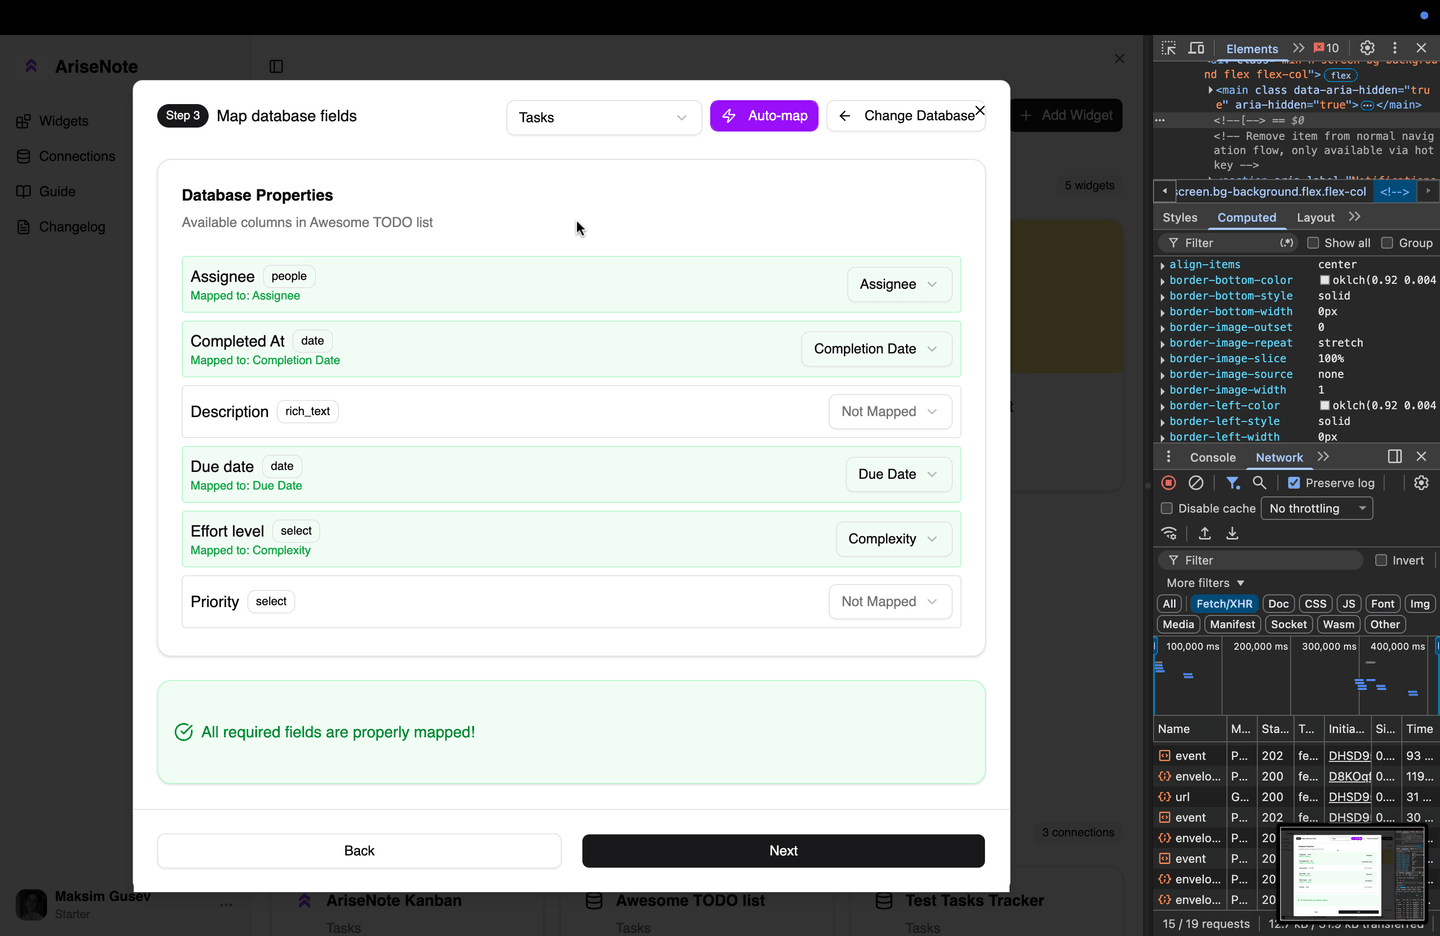
4. Mapping Database Fields
Mapping database fields is required for AriseNote to understand how your database properties correspond to the data types widgets use. Most of the time, the mapping should complete automatically without issues. However, if AriseNote can't auto-map the fields or you want more flexibility, you can find more information in the Connections Field Mapping section of the documentation.
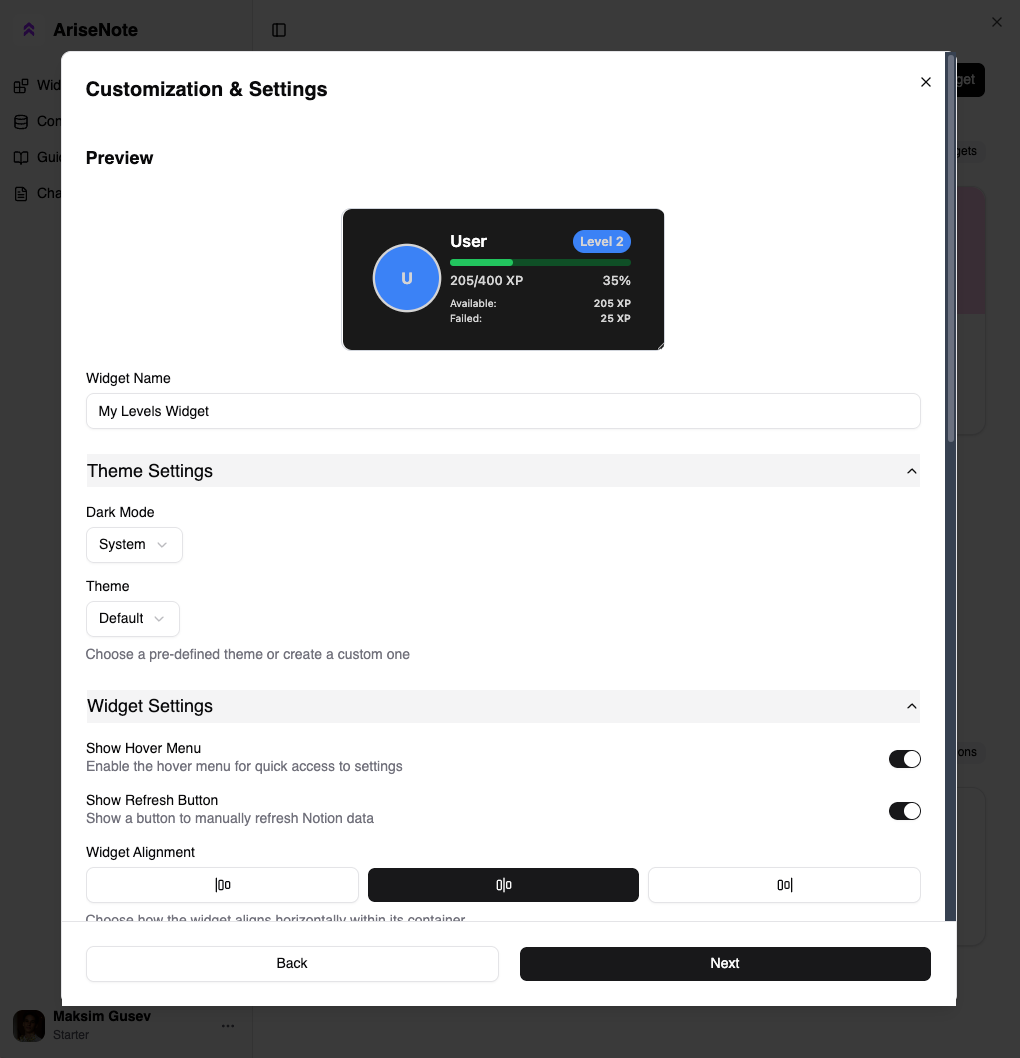
5. Customize the Widget
Once your database is connected and fields are mapped, it's time to personalize your widget! The customization interface allows you to adjust various settings to match your preferences and workflow.
Here you can:
- Change colors, fonts and themes to match your Notion aesthetic
- Configure display options to show or hide specific information
Experiment with different settings until your widget looks and functions exactly how you want it. Don't worry — you can always come back and modify these settings later from the widget dashboard.
6. Add Widget to Notion
You're almost done! Now it's time to embed your newly created widget into your Notion workspace.
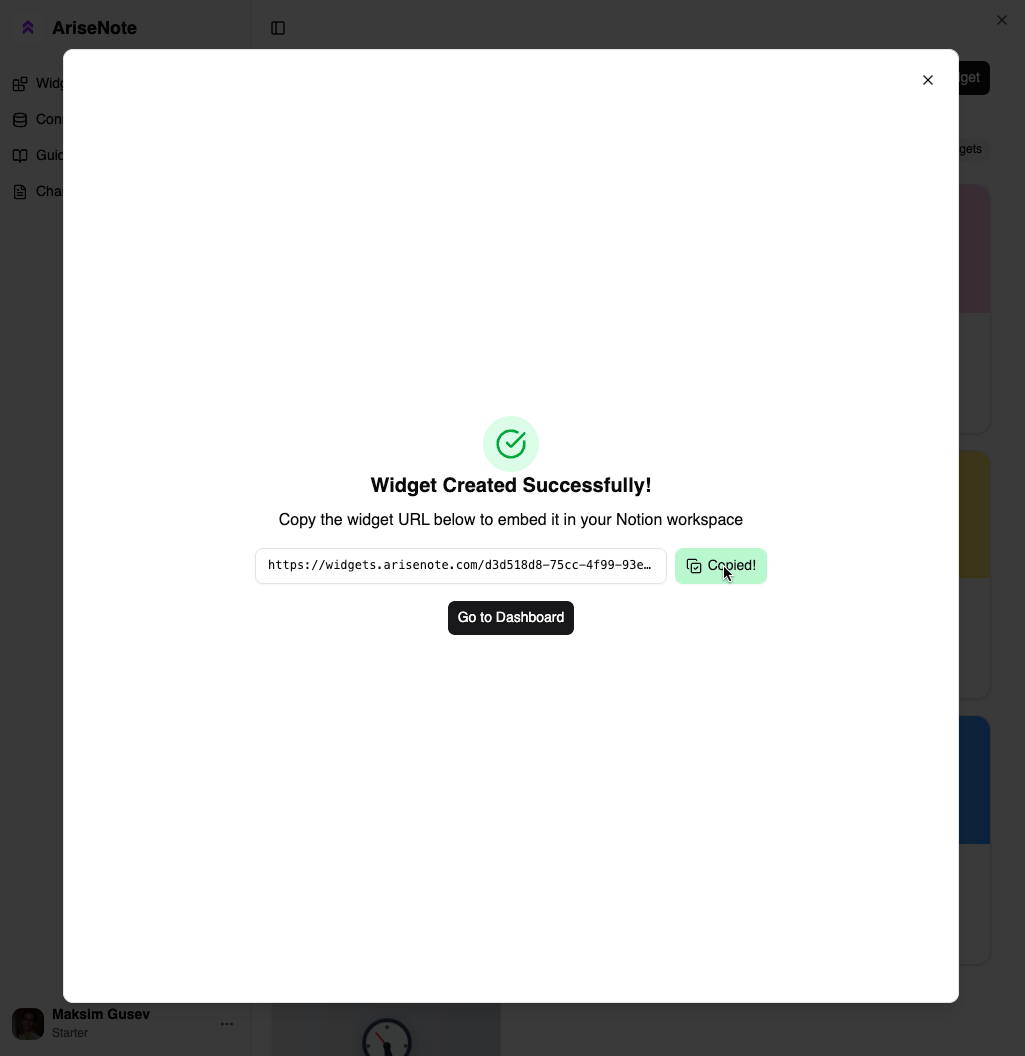
Step 1: Copy the widget link
After customizing your widget, click the "Copy Link" or "Get Embed Link" button. This will copy a unique URL for your widget to your clipboard.
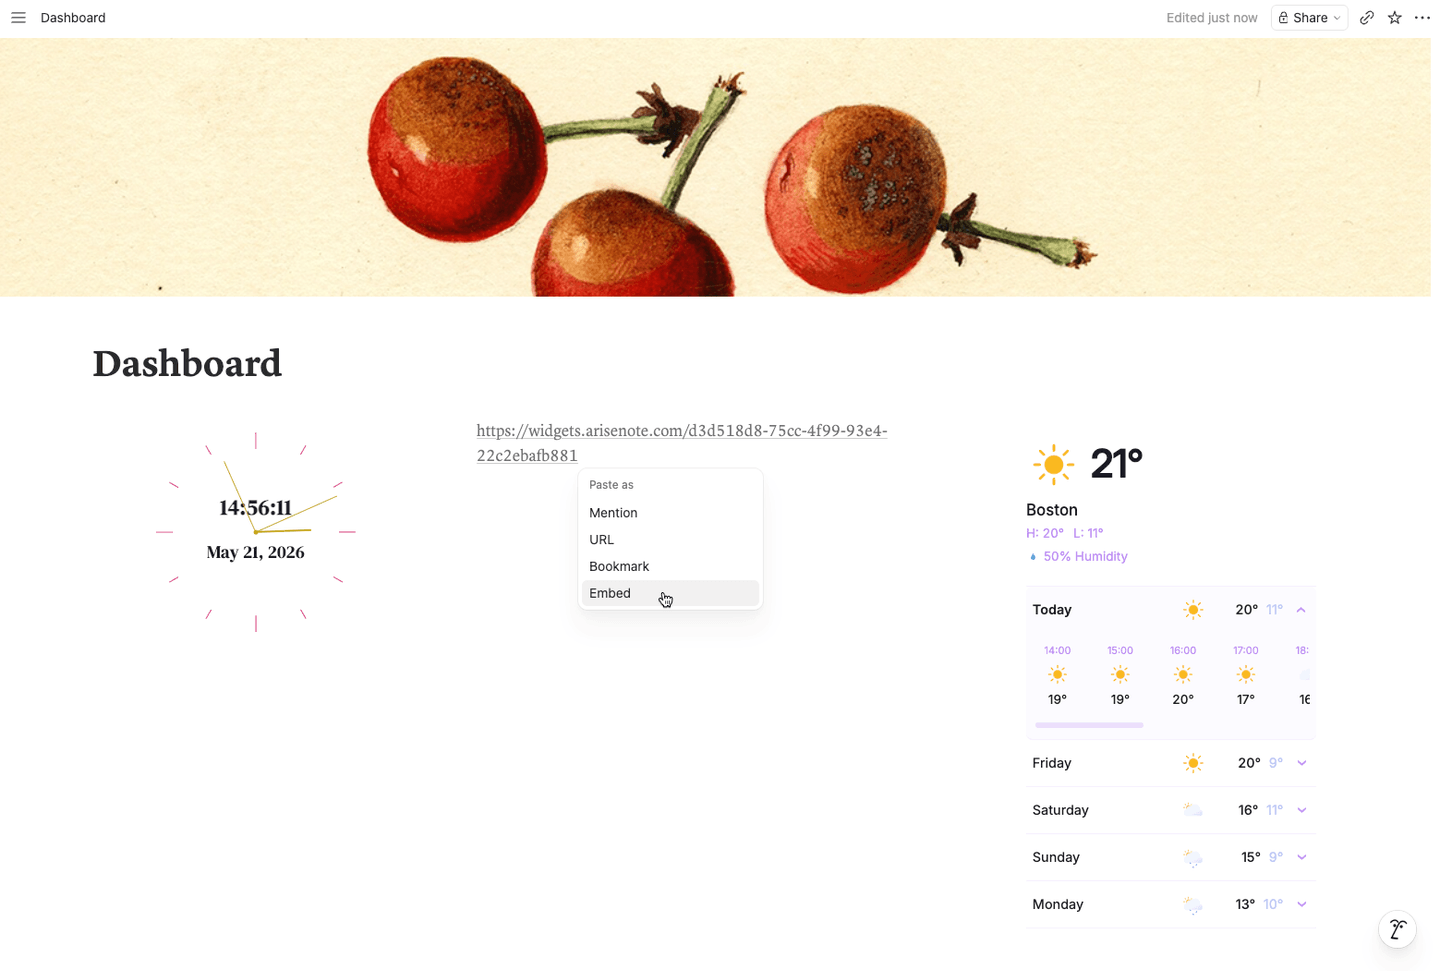
Step 2: Embed in Notion
Navigate to the Notion page where you want to add your widget. Type /embed to bring up the embed block, then paste the widget link you just copied. Or simply paste the link and select "Embed" from the dropdown menu, as shown on the screenshot.
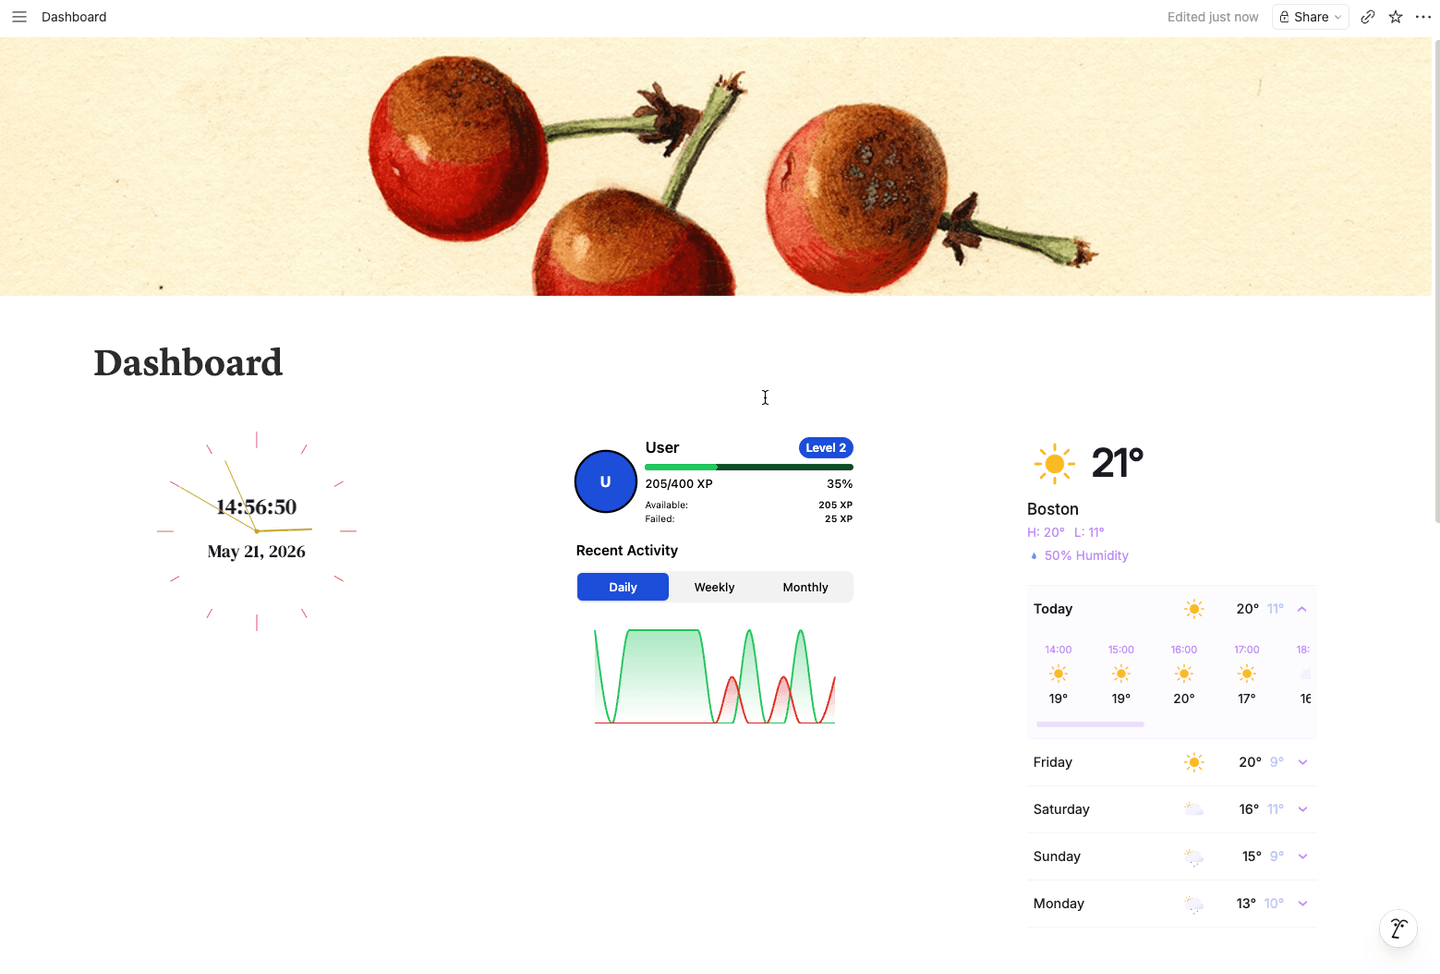
Step 3: Enjoy your widget!
Your widget is now live in Notion! It will automatically sync with your database and display real-time information. You can resize, move, or customize the widget at any time.
Congratulations! You've successfully created and embedded your first AriseNote widget. To manage your widgets, edit their settings, or create new ones, head back to the AriseNote dashboard. For more advanced features and customization options, check out the Widget Configuration guide.