Connecting Notion
Connecting your Notion workspace is the first step for any widget that reads data from your databases — Streak, Levels, and Heatmap all require a Notion connection.
This guide covers the OAuth authorization flow, what permissions AriseNote requests, how to share specific pages and databases, and how to troubleshoot common issues.
When Do You Need Notion?
| Widgets | Notion required? |
|---|---|
| Clock, Weather | No |
| Streak, Levels, Heatmap | Yes |
You can connect Notion at any time — during widget creation, from the dashboard banner, or from Settings → Account → Connected Accounts.
Authorization Flow
AriseNote uses Notion's official OAuth 2.0 integration. Your credentials are never stored in plain text, and AriseNote only receives a scoped access token.
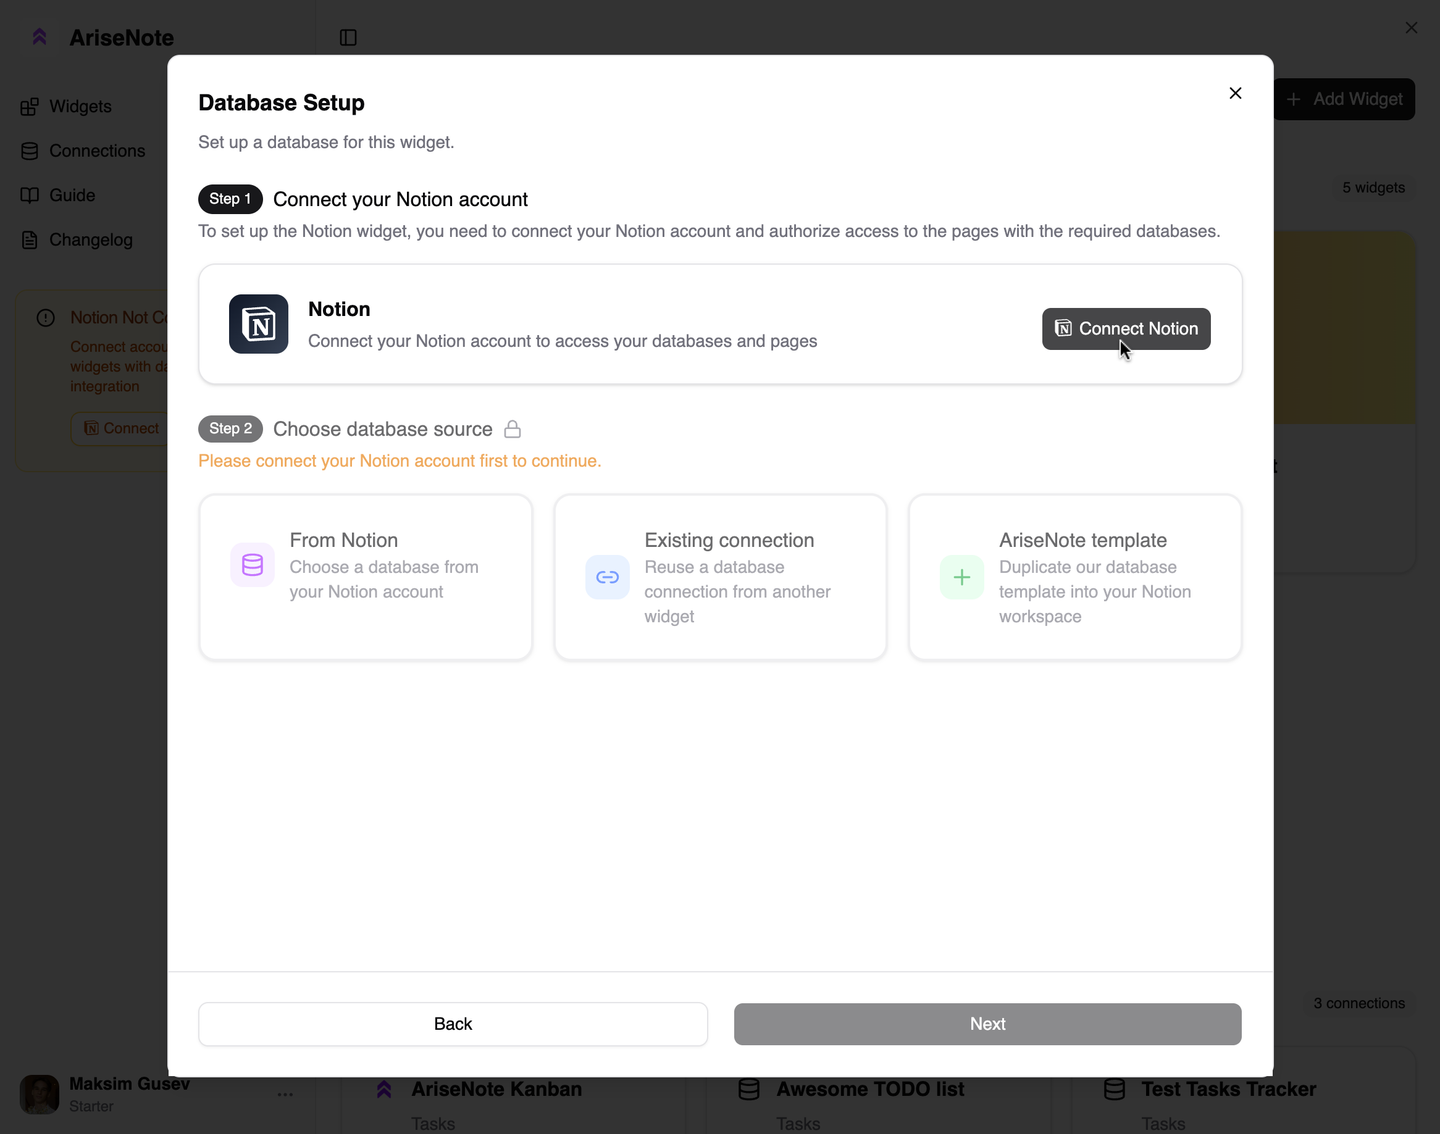
From the widget creation wizard
- Choose a widget that requires Notion (Streak, Levels, or Heatmap).
- On the Notion Setup step, click Connect Notion.
- You are redirected to Notion's authorization page.
- Select the workspace you want to connect.
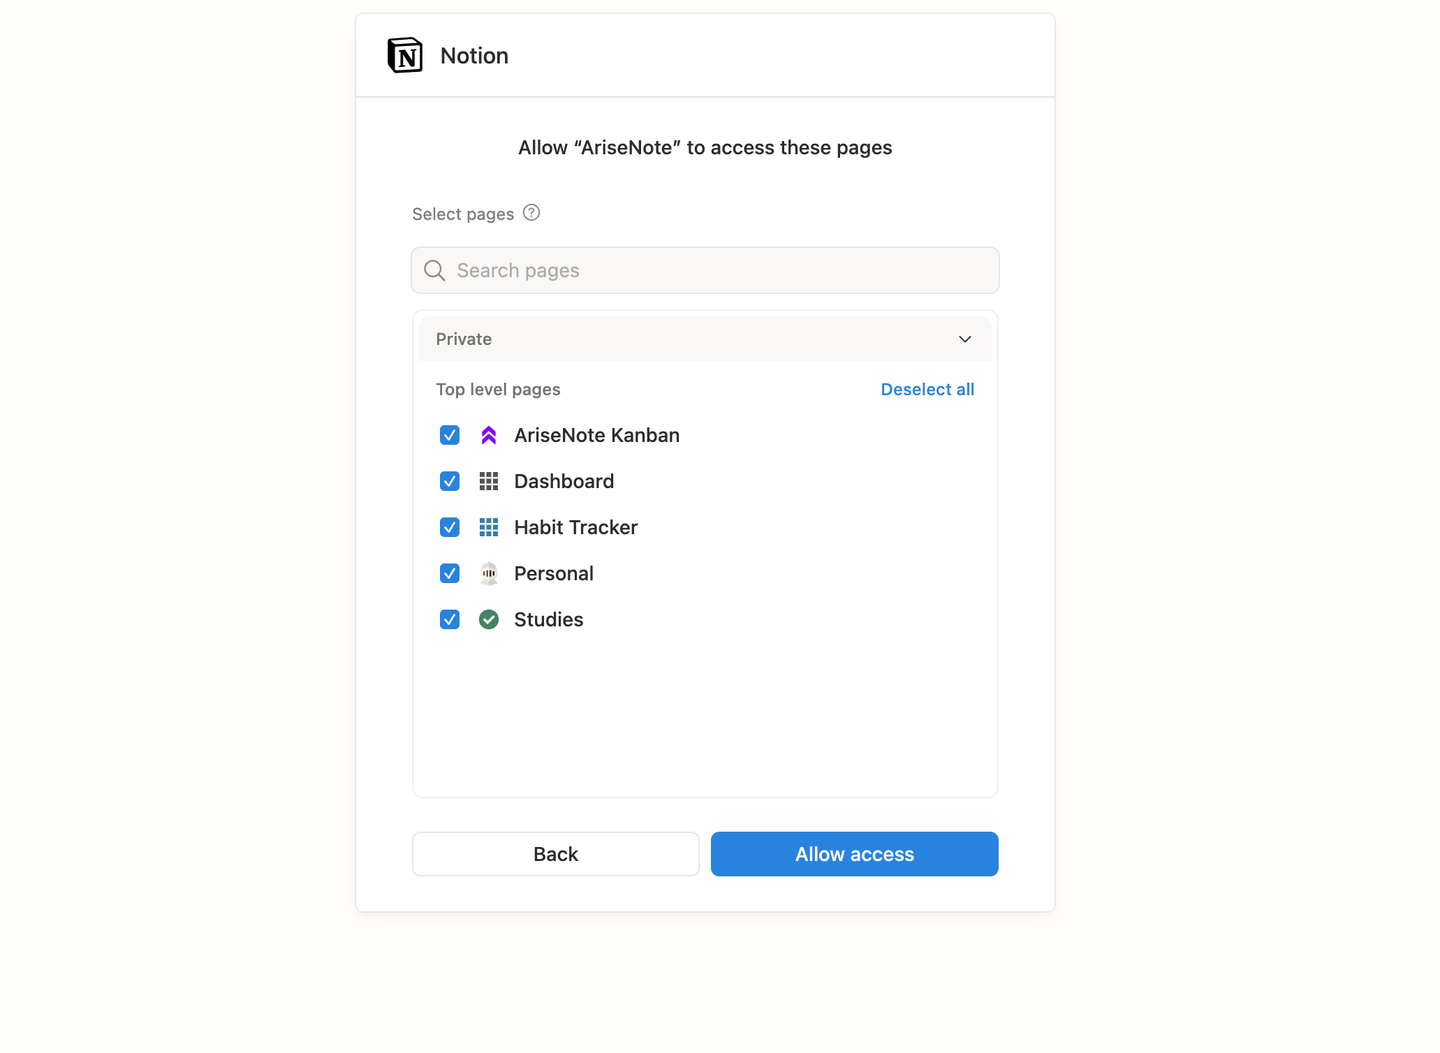
- Choose which pages AriseNote can access (see Selecting pages below).
- Click Allow access — you are redirected back to AriseNote automatically.
From Settings
- Open Settings from the dashboard sidebar.
- Go to Account.
- In the Connected Accounts section, find Notion and click Connect.
- Complete the same OAuth flow as above.

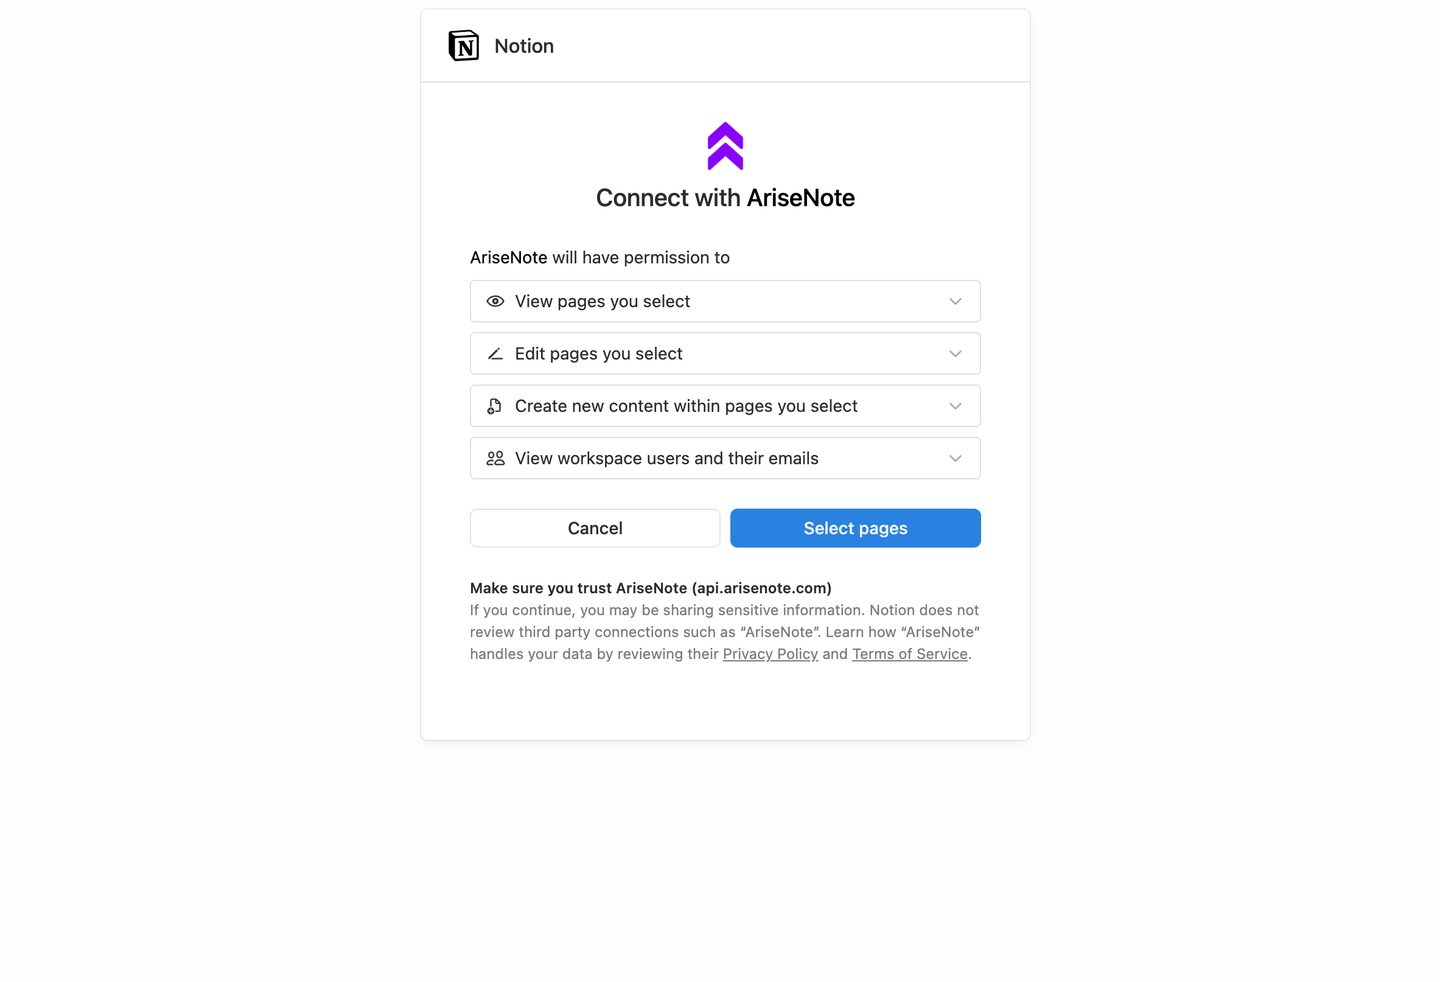
Required Permissions
AriseNote requests read-only access:
- Read database content — to fetch entries from your task and habit databases
- Read page content — to access database properties and entry fields
- Read user information — to identify your workspace and account
AriseNote cannot create, edit, or delete anything in your Notion workspace. It only reads the databases you explicitly share.
Selecting Pages and Databases
During OAuth authorization, Notion asks you to pick which pages the integration can access. Select the pages that contain the databases you plan to use with AriseNote.
If you add new databases later, you may need to update the integration's page access in Notion:
- Open the page or database in Notion.
- Click the ••• menu in the top-right corner.
- Select Connections (previously "Add connections").
- Choose AriseNote to grant access.

Disconnecting Notion
Widgets that require Notion (Streak, Levels, and Heatmap) will stop working until you reconnect Notion to your AriseNote account. Existing widget embeds in Notion may show an error state.
From AriseNote
- Go to Settings → Account → Connected Accounts.
- Click Disconnect next to Notion.
- Confirm the action.
From Notion
- Go to Settings & members → Connections in your Notion workspace.
- Find AriseNote and click Disconnect.
Troubleshooting
Authorization failed or redirect error
- Make sure pop-ups are not blocked in your browser.
- Try again in a private/incognito window with extensions disabled.
- Clear your browser cache and retry.
Database not appearing in AriseNote
- Verify the database page is shared with the AriseNote integration in Notion (see Selecting pages).
- Refresh the AriseNote dashboard to reload the database list.
- Check that the database has not been archived or moved to a page AriseNote cannot access.
Wrong workspace connected
- Disconnect Notion from Settings → Account and reconnect.
- During OAuth, make sure you select the correct workspace from the dropdown.
Permission changes in Notion
If you restructure databases or move them to new pages, re-share the relevant pages with AriseNote. If problems persist, disconnect and reconnect the integration.
Next Steps
- Connecting Databases — link databases and configure field mappings
- Creating Widgets — full end-to-end widget setup walkthrough